
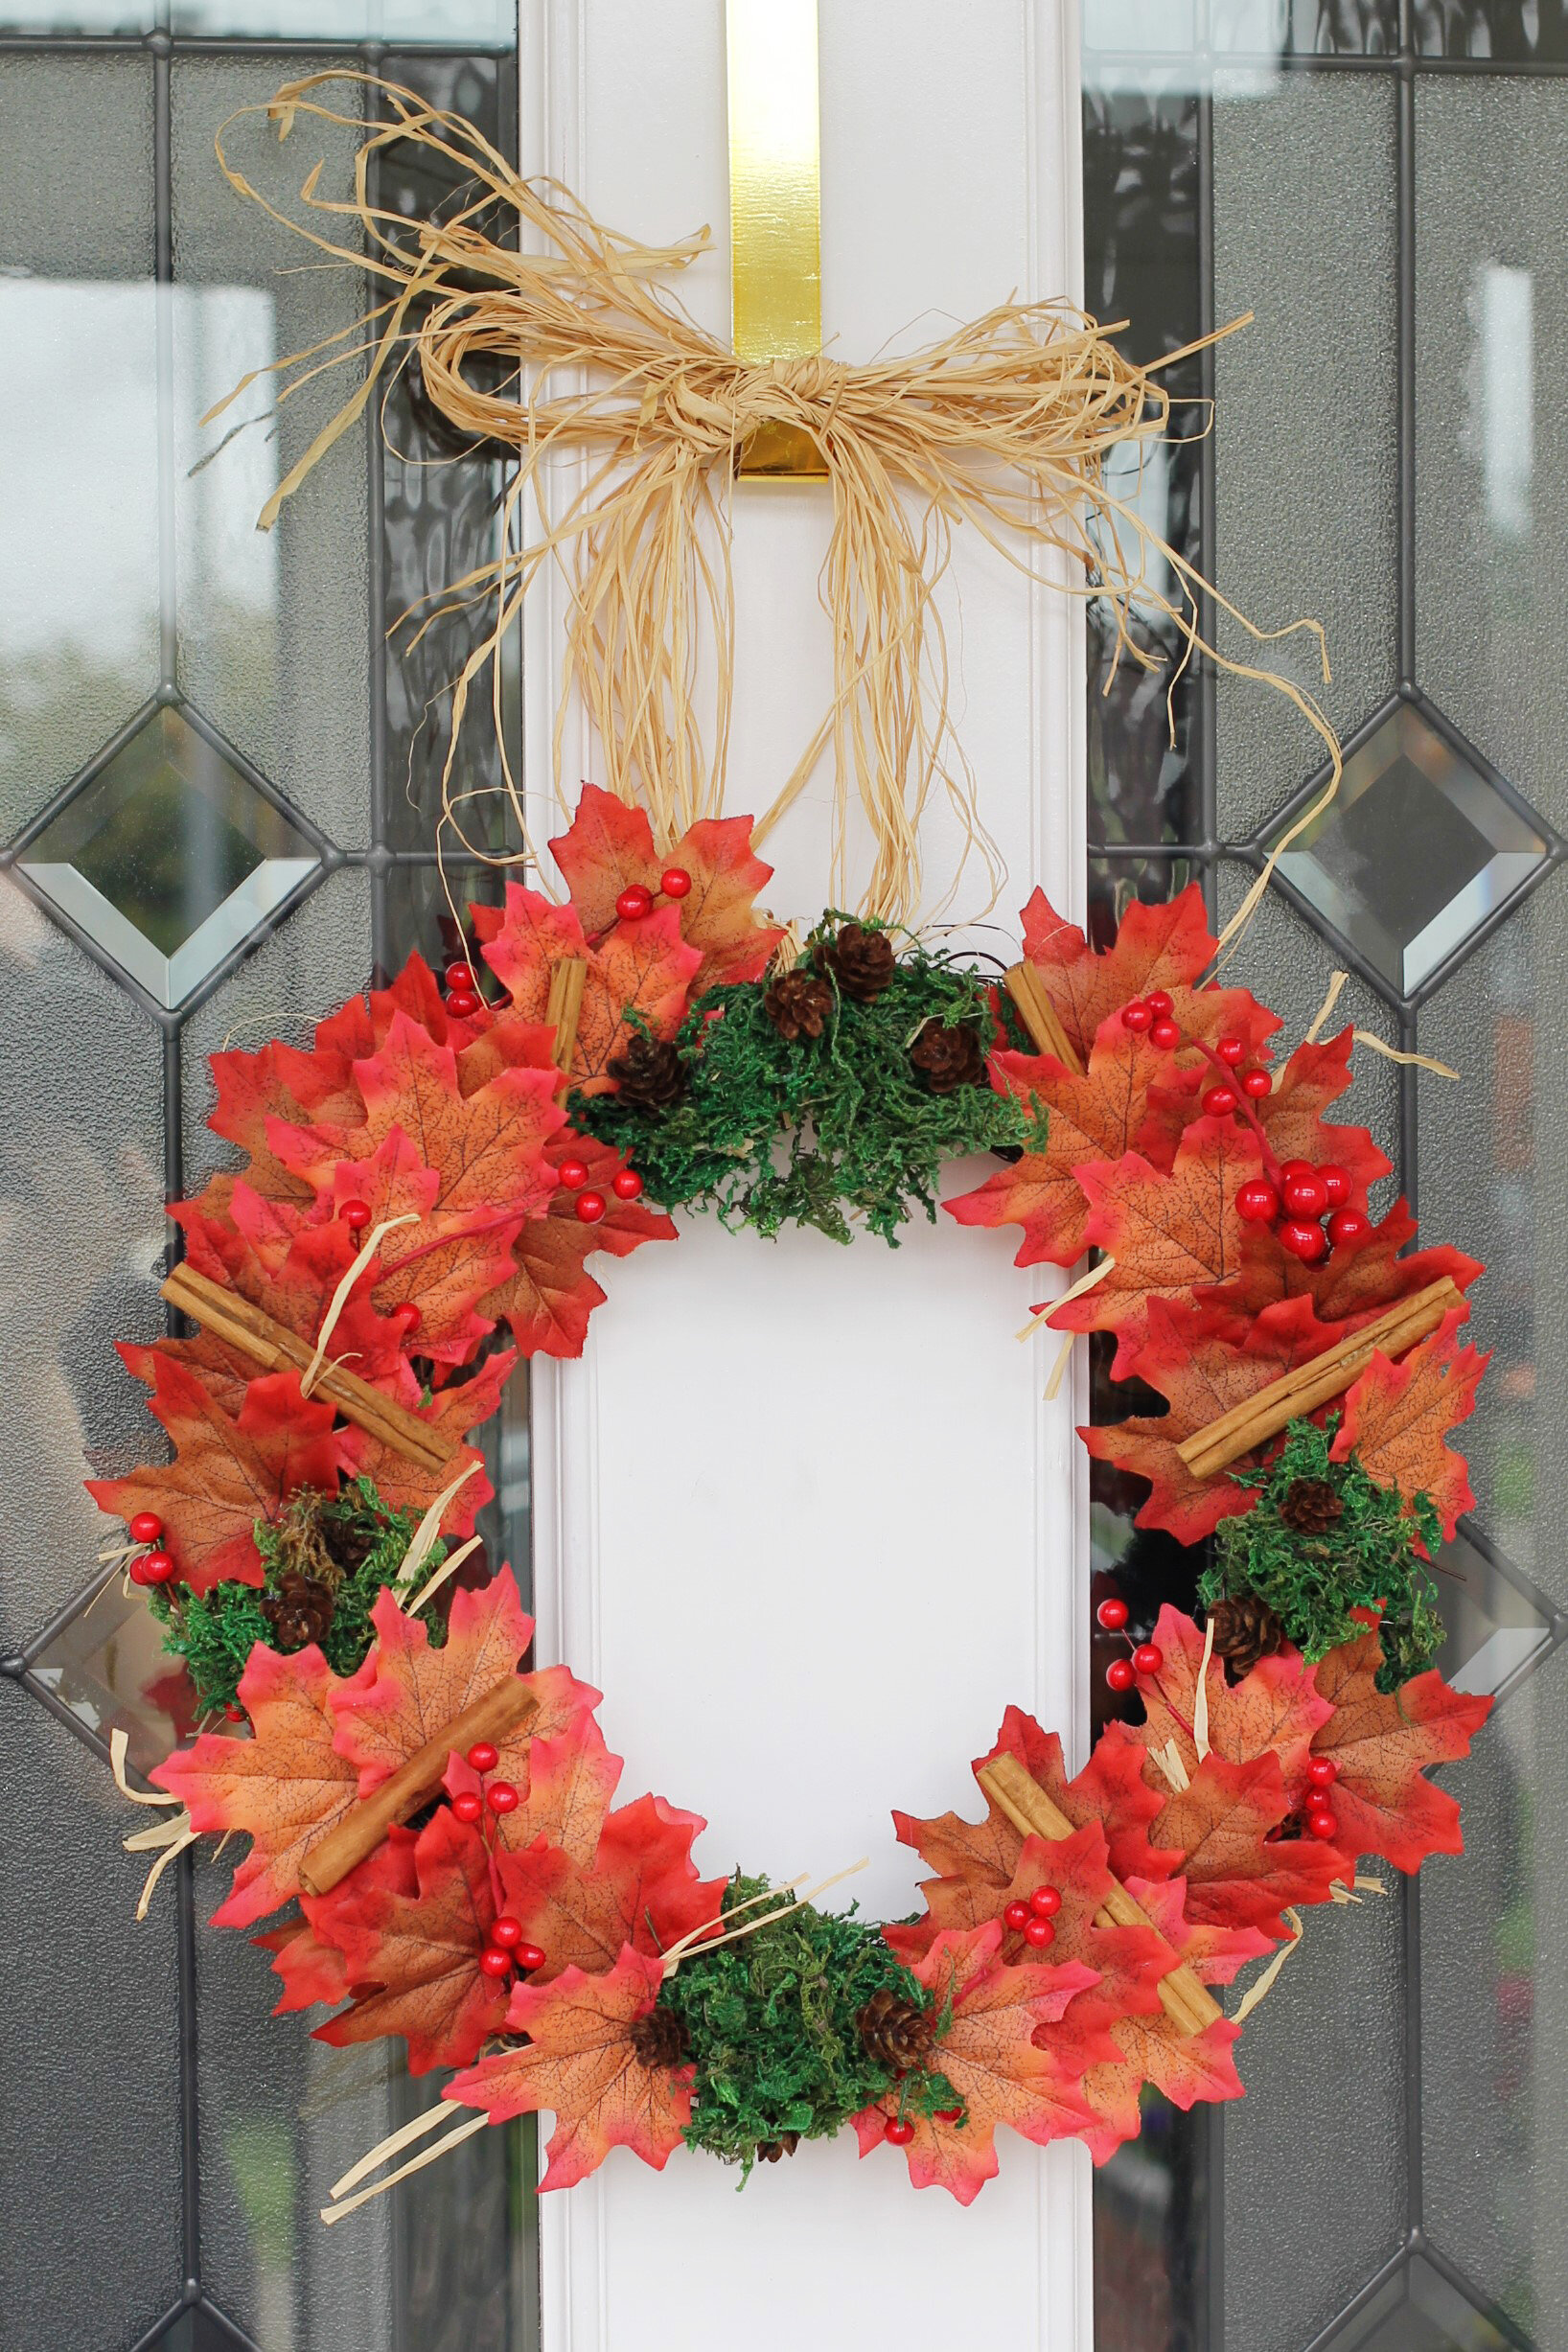
Autumn Wreath Tutorial

I created my first ever wreath for our wedding beck in October 2013, I've always loved being creative. It also saves money, all of the craft bits I bought for this was enough to make three. They make great gifts, I am making one for both my mother and mother-in-law. But you could simply save the left over craft bits for next year. Below is a step by step guide of how I created my wreath and I hope it is clear for you to follow. If you have any questions or get stuck I am always available on Twitter or Instagram direct.
You will need:
- Garden twine
- Glue gun and sticks
- Assorted autumnal craft supplies such as: mini pine cones, imitation leaves, fake moss, berries, cinnamon sticks etc.
- Hessian, raffia, twine or velvet to hang your wreath.
- Wire cutters
- Scissors
- Wreath base, I used one that could easily be threaded in to.
- Wreath door hanger, available at most garden centres or online.
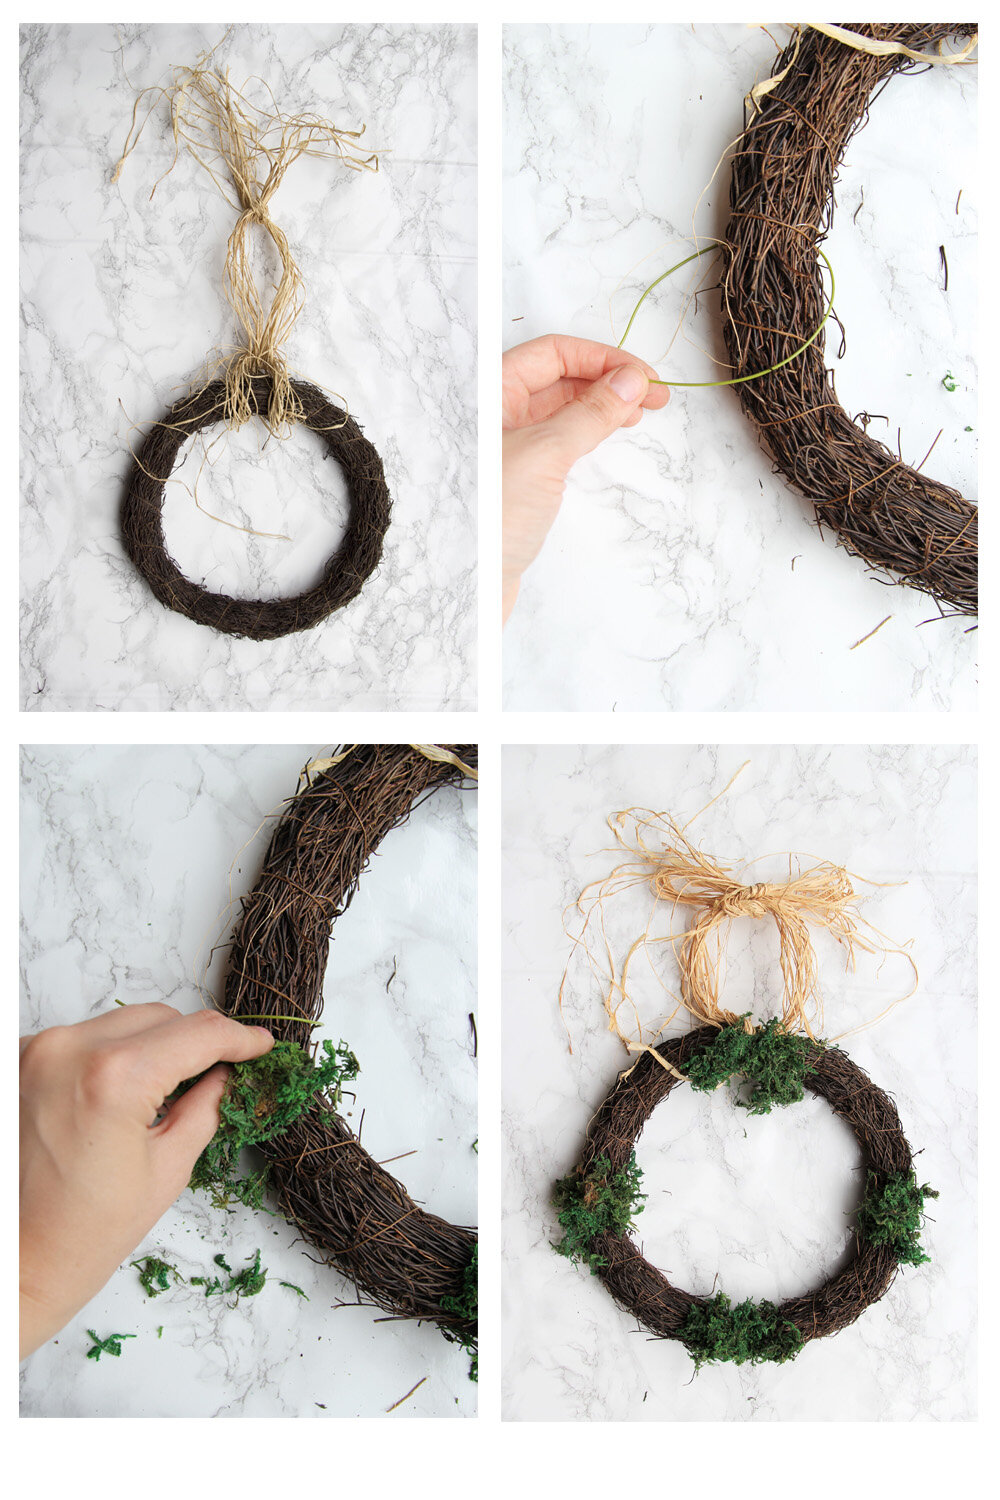 Step one: Using your chosen material for hanging, cut a long strip, fold in half a tie in a knot at one end. To get the right height, measure it against your wreath door hanger to see the drop. Thread the fabric underneath you wreath, knot end first and pass through the looped end, pull tightly so it is nice and secure.Step two: In a formation of quarters, apply a small piece of garden wire, twist loosely at first, leaving room to thread moss underneath. Stuff sections of your fake moss underneath, then tighten the wire to secure and either trim or bend under any remaining wire.Step three: Apply a small amount of hot glue (be careful) to the base of your leaf, apply all the way around your wreath, overlapping and changing direction slightly as you go. The key to a great wreath is to never see the glue or twine. Overlapping is your friend here.
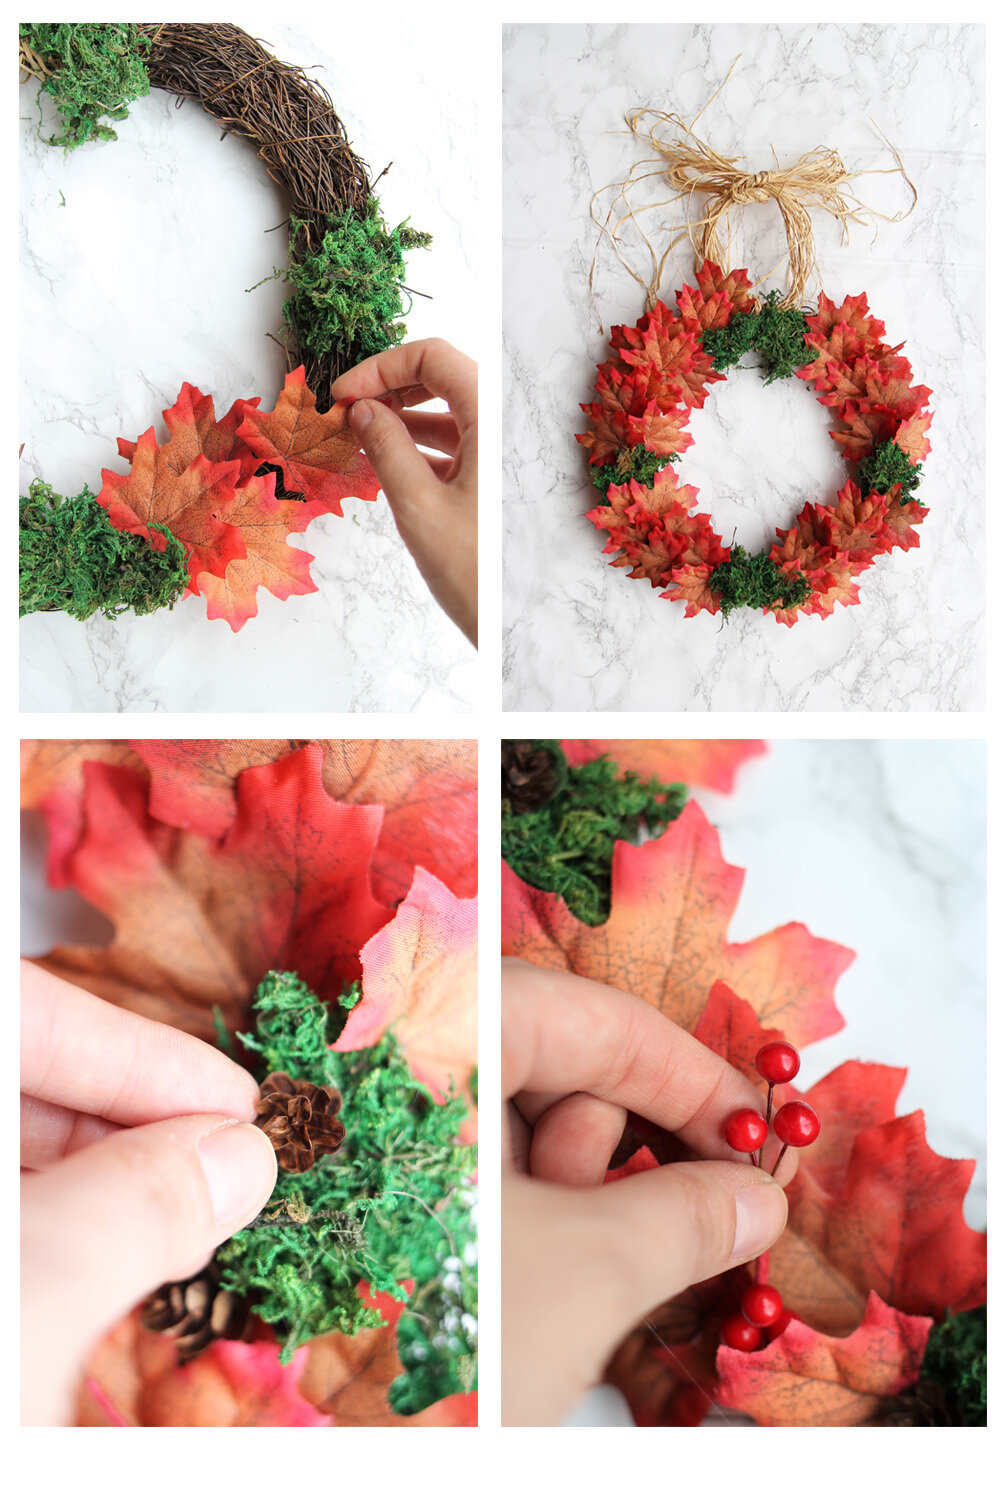 Step four: Apply a small amount of hot glue to the base of your pine cones, attach carefully to your fake moss. A few to each section, spaced evenly in different directions.Step five: I have used berries on wire in bunches, that I separated myself with wire cutters. Thread the different sections carefully in to your wreath base and bend in whichever direction you wish. Be sure to hide the base stem behind your leaves.Step six: Add a small amount of hot glue in a line on one side of your cinnamon sticks, carefully stick them to your wreath in even sections and in different directions. Cinnamon sticks are a great element of scent for people knocking on your door. They also add a different angle to your wreath, creating more visual interest.
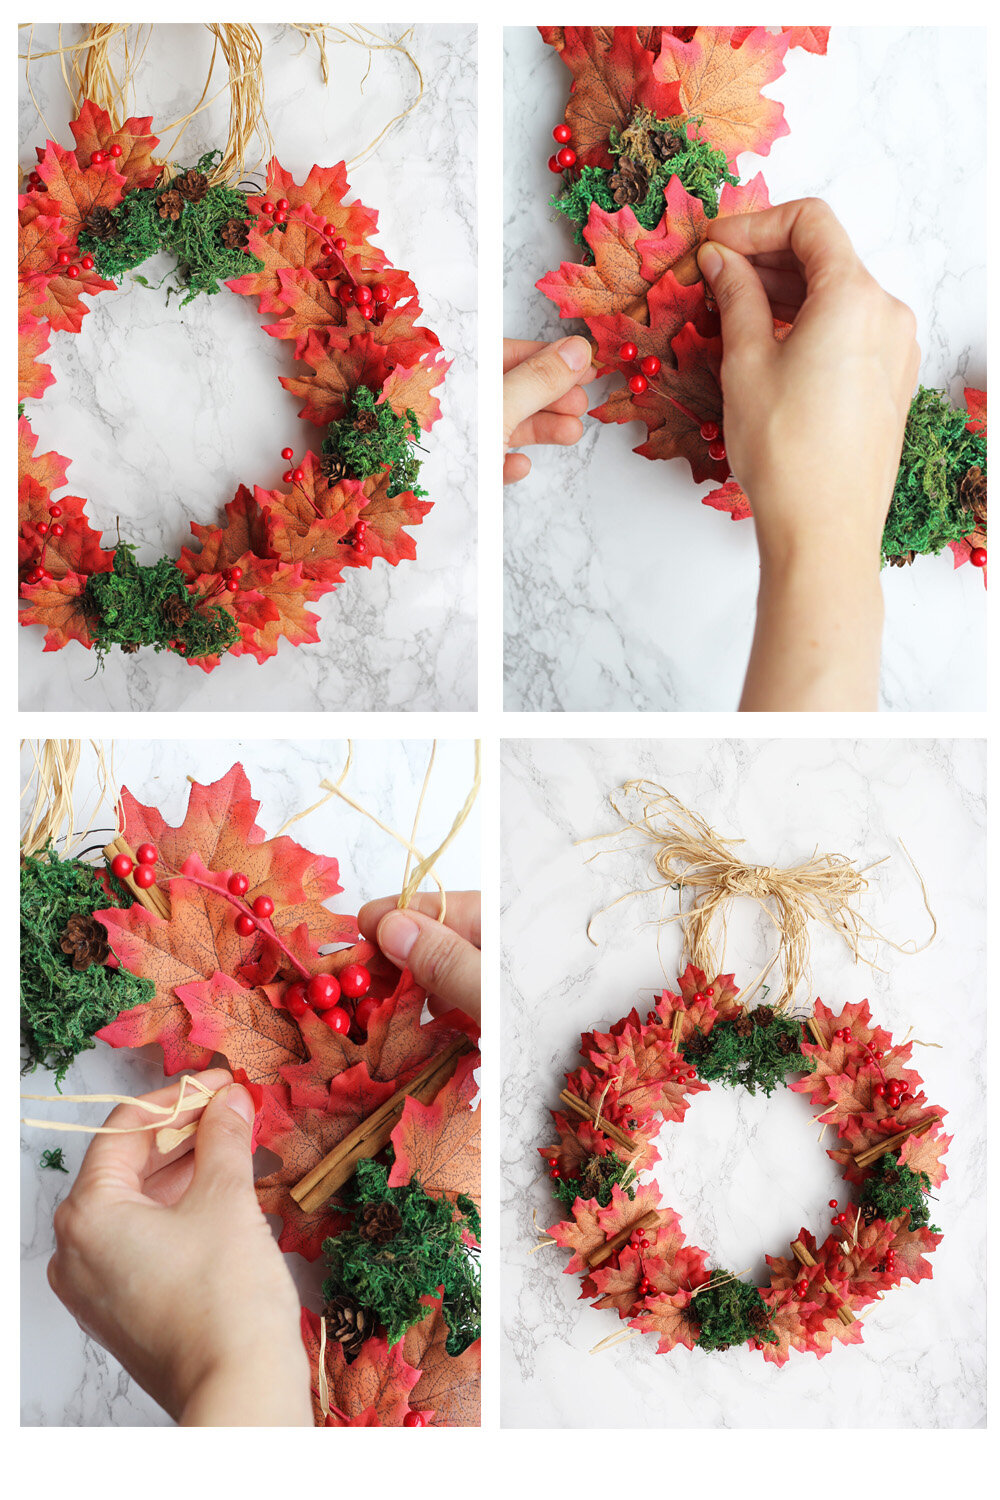 Step seven: Using sections of raffia, about 7 inches long, carefully tie sections around your wreath, underneath the leaves. This part is a little fiddly but worth it for the overall effect.Step eight: Hang your wreath on your door and beam a smile of pride.